How To Lay a Wooden Floor: A Step-by-Step DIY Guide
Laying a wooden floor is one of the most rewarding home improvement projects you can tackle. Whether you’re installing solid hardwood, engineered wood, or click-lock laminate, the process is manageable with the right tools and preparation. This guide walks you through each step, from subfloor prep to finishing touches, and includes product recommendations to help you get professional results.
Types of Wooden Flooring
- Solid Hardwood: Durable and timeless, but sensitive to moisture and best for above-grade installations.
- Engineered Wood: More stable and suitable for basements or areas with humidity fluctuations.
- Laminate Wood: Budget-friendly and easy to install, ideal for DIYers.
For comparisons, visit Compare Pricing on Different Types of Flooring.
Tools and Materials You’ll Need
- Measuring tape
- Rubber mallet
- Flooring spacers
- Utility knife
- Underlayment (if not pre-attached)
- Jigsaw or circular saw
- Chalk line
- Vacuum or broom
Recommended Products:
Step 1: Prepare the Subfloor
Start by removing any existing flooring and cleaning the subfloor thoroughly. It should be dry, level, and free of debris. Use a moisture barrier if installing over concrete. For wood subfloors, ensure there are no squeaks or loose boards. Address uneven areas with leveling compound or sanding. A smooth subfloor is critical for a professional finish.
Step 2: Acclimate the Flooring
Let the wooden planks sit in the room where they’ll be installed for at least 48 hours. This allows the material to adjust to the room’s temperature and humidity, preventing expansion or contraction after installation. Keep boxes flat and unopened during acclimation.
Step 3: Plan Your Layout
Measure the room and calculate how many rows of planks you’ll need. Use a chalk line to mark your starting point. Stagger the joints between rows by at least 6 inches for a natural look and structural integrity. Avoid narrow slivers of planks at the walls by adjusting your starting row width.
Consider the direction of the planks. Running them parallel to the longest wall or the main light source usually looks best. In hallways, planks should run lengthwise to create a sense of flow.
Step 4: Install the First Row
Place spacers along the walls to maintain a 1/4-inch expansion gap. Lay the first row of planks with the tongue side facing the wall. Connect the planks using the click-lock mechanism or adhesive, depending on the flooring type. Double-check alignment to ensure the first row is perfectly straight—it sets the foundation for the entire installation.
Step 5: Continue Installation
Work row by row, locking planks together and cutting pieces to fit as needed. Use a jigsaw or circular saw for clean cuts. Tap planks gently with a rubber mallet and tapping block to ensure a snug fit. Mix planks from different boxes to blend color variations and create a more natural look.
Step 6: Finish the Last Row
Measure and cut the final row to fit, maintaining the expansion gap. Use a pull bar to snug the last planks into place. Remove spacers and install baseboards or quarter-round molding to cover the gaps. This finishing touch not only hides expansion spaces but also gives the floor a polished look.
Step 7: Clean and Inspect
Vacuum or sweep the floor to remove dust and debris. Inspect for gaps, loose planks, or adhesive residue. Avoid heavy furniture or foot traffic for 24 hours if using glue-down installation. For floating floors, you can usually walk on them immediately after installation, but wait before adding heavy furniture.
Installation Tips
- Mix planks from multiple boxes to blend color variations.
- Use a tapping block to avoid damaging plank edges.
- Check manufacturer guidelines for specific installation methods.
- Maintain indoor humidity between 35% and 55% year-round.
- Use protective felt pads under furniture to prevent scratches.
- Plan transitions carefully between rooms and different flooring types.
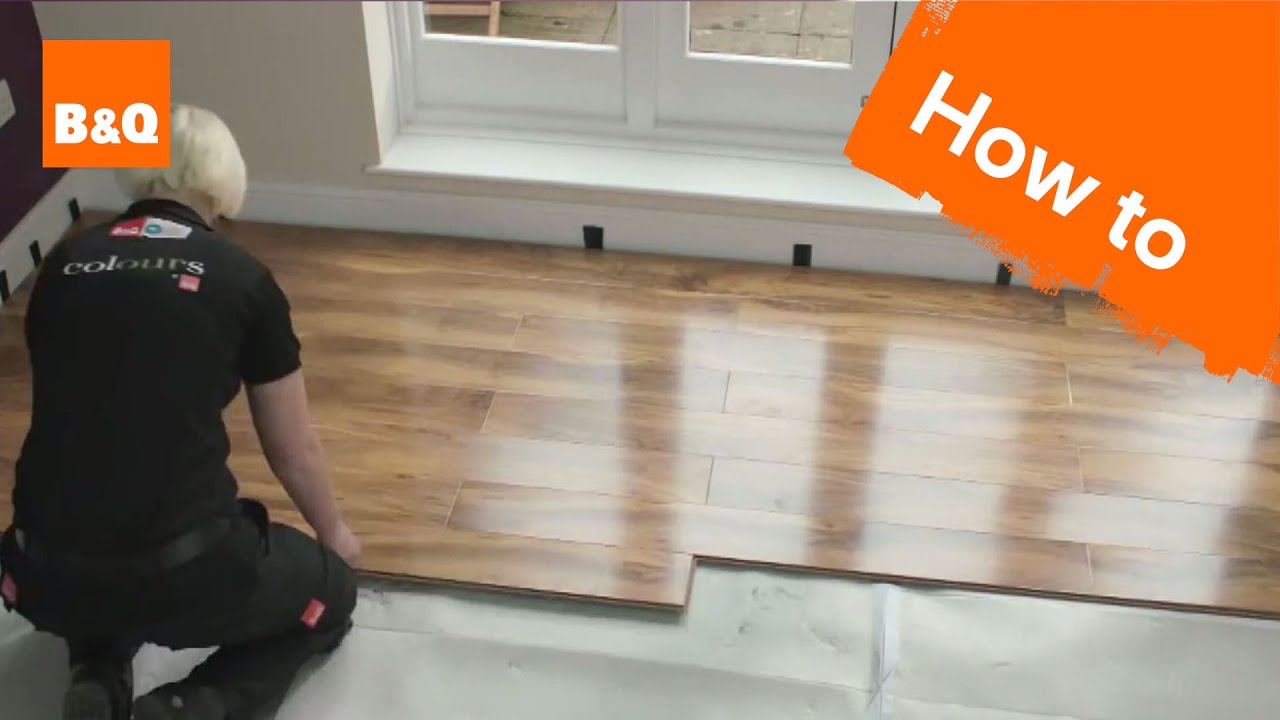
Video Tutorials
This is the Nuts n Bolts of how to easily lay a wooden floor
How to lay laminate flooring, advice on laying your first boards, working around fixtures and finishing.

How To Install Laminate Flooring (Tap end joint Method)
Many of our customers are the DIY type. Hopefully this guide will help you with installing your new Dream Home Laminate flooring. This can also be found in our Flooring 101 section for an easy-to-print document.
Before you get started, make sure you have carefully prepared your floor (concrete, wood, sheet & tile flooring, carpeting, or radiant heat) properly for smooth installation and that the subfloor requirements have been met.

Conclusion
Laying a wooden floor is a satisfying project that adds warmth and value to your home. With the right tools, preparation, and technique, you can achieve a professional finish that lasts for years. Whether you choose solid hardwood, engineered wood, or laminate, following these steps will help you install your floor with confidence.
For more flooring tips, installation guides, and product reviews, explore our full home improvement blog.